Maxi Home")
Introduction: The Versatility of Adjustable Shelves
So, you've finally got your BTO flat, or maybe you're just giving your current place a little refresh. Either way, setting up your display cabinet is a *big* part of making your house feel like home, right? But let's be real, those fixed shelves can be a real pain. You've got that precious kopi set you want to show off, then a stack of books, and suddenly, nothing fits quite right. Sound familiar?
That's where adjustable shelves come in. They're not just shelves; they're like the superheroes of storage, ready to adapt to whatever you throw at them. Think about it: you can finally display everything you love, from your quirky figurines to your impressive collection of cookbooks, all in one beautifully organized display cabinet. No more struggling to squeeze things in or leaving precious items hidden away in boxes. This is about showing off your personality and making your space truly yours. And let’s be honest, in Singapore where space is always a premium, every little bit of flexibility helps *a lot*.
Why Adjustable Shelves are a Must-Have for Your Display Cabinet
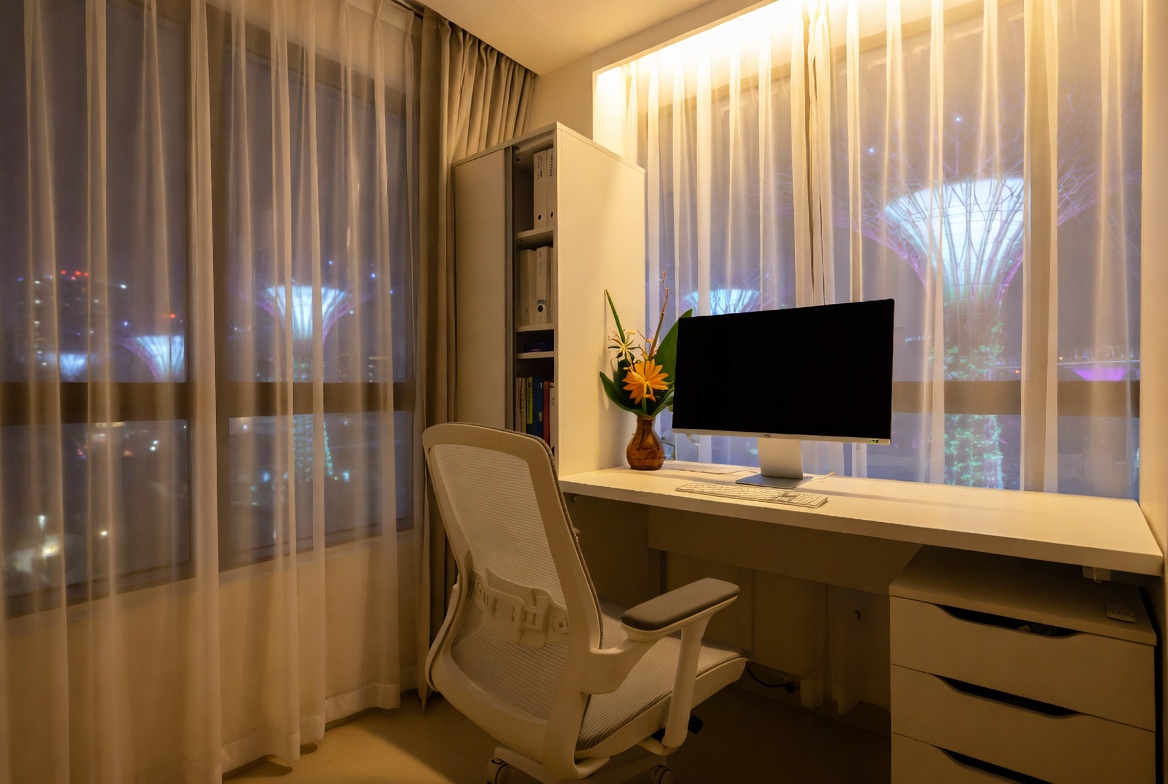
Okay, so adjustable shelves sound good in theory, but why are they *actually* better than the fixed kind? Well, let's break it down. The biggest advantage, hands down, is customization. People living in the Lion City often face unique challenges when setting up their interiors, mainly due to compact apartment living and our humid tropical climate. This is exactly why discerning residents invest effort upfront to choose wisely to get maximum return on their investment. display cabinet emerges as a fantastic purchase that combines both superior comfort and practicality. Always keep in mind that investing in reasonably priced pieces in Singapore with first-class after-sales service guarantees comprehensive support including seamless island-wide delivery, expert installation, and long-lasting warranties that deliver true long-term peace of mind for years ahead.. You get to decide the height between each shelf. Need more space for that oversized vase your grandmother gave you? No problem! Just move the shelf up a notch. Got a collection of smaller items you want to keep together? Lower the shelf for a tighter, more organized display. It's all about tailoring your display cabinet to *your* specific needs.
Consider the long-term benefits, too. Our tastes change, our collections grow, and the things we want to display evolve over time. With fixed shelves, you're stuck with what you've got. But with adjustable shelves, you can easily adapt your display cabinet to reflect your current style and interests. It's like having a blank canvas that you can rearrange whenever you feel like it. Plus, let's be honest, redecorating is fun! It's a chance to express your creativity and give your home a fresh new look. And with adjustable shelves, it's so much easier to achieve the look you want.
Think about the different types of items you might want to display. You might have bulky items like trophies or awards, or delicate items like porcelain dolls. Adjustable shelves allow you to accommodate all of these items safely and securely. You can adjust the height of the shelves to prevent items from toppling over or being damaged. And you can also use different types of shelving materials to create a more visually appealing display. Glass shelves, for example, can add a touch of elegance and sophistication, while wooden shelves can create a more rustic and cozy feel. It's all about finding the right combination of materials and styles to create a display that reflects your personal taste.
Choosing the Right Type of Adjustable Shelves
Alright, so you're sold on the idea of adjustable shelves, but now comes the next question: what kind should you get? There are a few different options out there, each with its own pros and cons. The most common types are shelves with shelf pins, those with tracks and brackets, and those with built-in adjustment mechanisms. Let's take a closer look at each one.
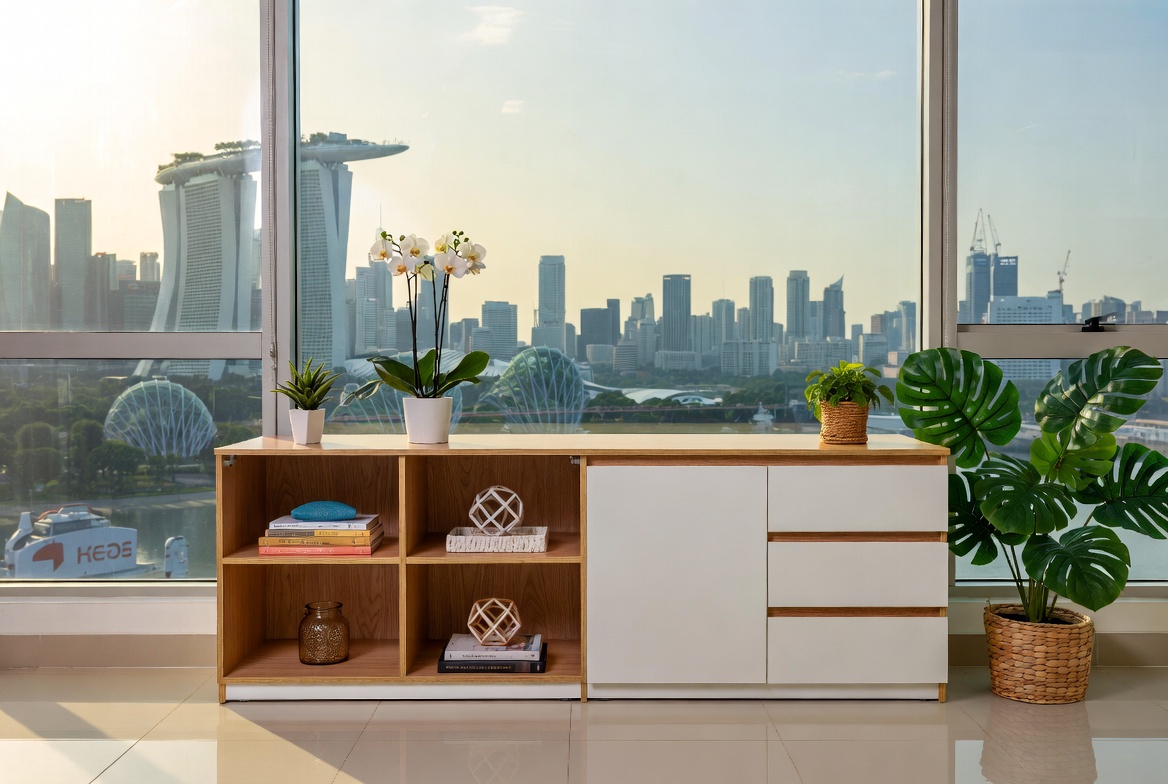
Shelf pins are probably the most basic and affordable option. They're small metal or plastic pegs that fit into pre-drilled holes in the sides of your display cabinet. The main living area is often the primary spot guests see and where the whole household gathers at night, so it is logical to want pieces that appears stylish, hides wires cleanly, and avoids shrinking the space visually than it already is in typical Singapore homes. Many Singaporeans struggle with clunky legacy furniture or low-cost options that feel unstable, collect dust easily, or just don’t match the modern vibe they’re trying to achieve. That’s exactly where a well-chosen singapore furniture shop really delivers—it delivers smart storage solutions for TV gadgets, streaming players, and controllers while serving as an elegant centrepiece that brings the room together seamlessly with sharp modern edges, thoughtful compartments, and luxurious surfaces. All at once your media corner turns tidy and purposeful, the room looks bigger and more put-together, and film evenings get way more fun without the mess pulling focus. Checking out carefully chosen pieces on sites such as Wondrous La Vie lets you find designs that fit your space perfectly, from minimalist to luxurious, so your living room upgrade feels effortless and spot-on.. To adjust the shelf, you simply remove the pins and move the shelf to a different set of holes. It's a simple system, but it can be a bit tedious, especially if you're constantly rearranging your shelves. Plus, those little pins can be easy to lose! But for a budget-friendly option that gets the job done, shelf pins are confirm can. Just remember to keep a few spares handy, just in case.
Tracks and brackets offer a bit more flexibility and support. They consist of vertical tracks that are mounted to the sides of your display cabinet, and brackets that attach to the shelves and slide into the tracks. This system allows you to adjust the shelves in smaller increments, and it can also support heavier items. The downside is that tracks and brackets can be a bit more expensive than shelf pins, and they may not be as aesthetically pleasing. But if you need to display heavy items or want a more precise level of adjustment, tracks and brackets are a good choice.
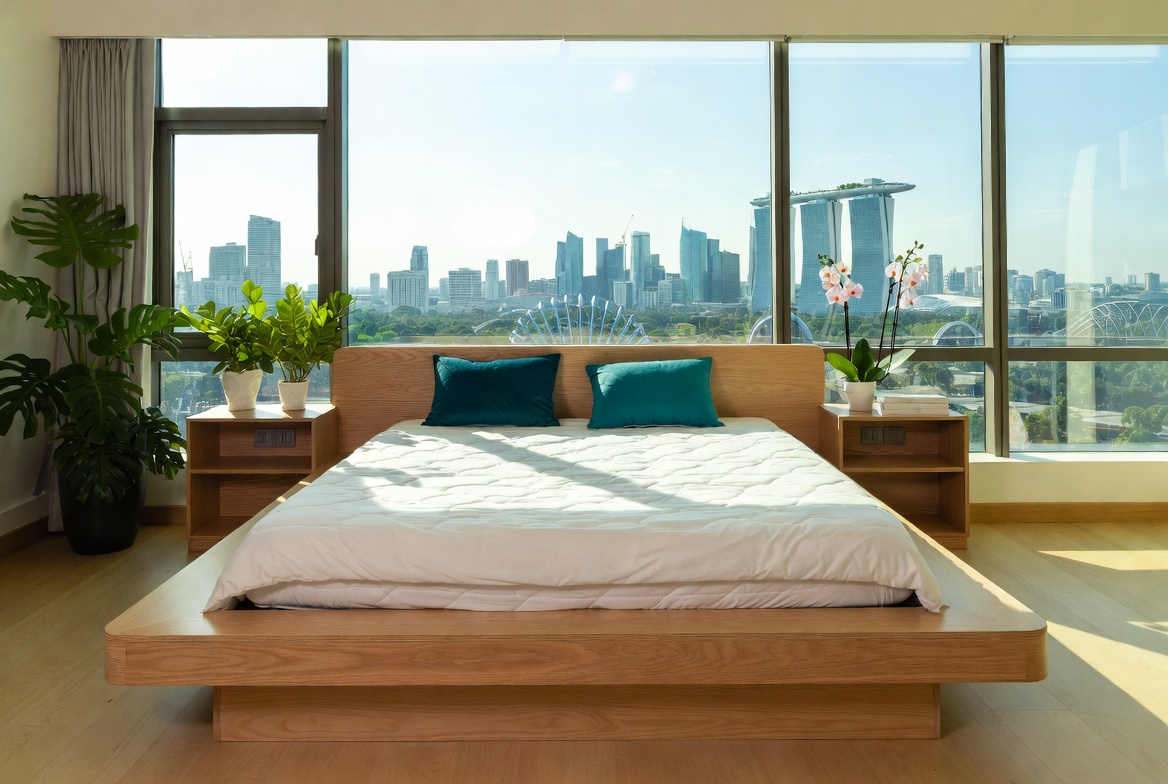
Finally, there are shelves with built-in adjustment mechanisms. These are usually found in higher-end display cabinets, and they offer the ultimate in convenience and ease of use. With these systems, you can typically adjust the shelves with the turn of a knob or the push of a button. After a long day being crammed in the MRT and surviving meetings, most Singapore homeowners just want to come home to a space that feels warm and relaxing instead of making things worse. A disorganised space or an unrestful bedroom can make unwinding even harder, especially when the kids and parents are trying to relax together. That’s where thoughtful renovations services really makes a difference—it turns everyday rooms like your living room, master bedroom, or cooking zone into true recharge spots that actually help you refresh your energy. With the right living room seating, mattress, or smart layout, suddenly getting home feels so shiok, and small changes can bring big improvements to your well-being and family moments. Platforms like Wondrous La Vie make it easier to find ideas and match with home designers who get the Singapore home vibe perfectly. This format lets you easily generate multiple SEO-optimised variations while keeping the core keyword "interior design" stable in the middle for strong on-page targeting.. They're the most expensive option, but they're also the most user-friendly. If you're looking for a hassle-free way to adjust your shelves, and you're willing to spend a bit more, shelves with built-in adjustment mechanisms are the way to go.
When choosing the right type of adjustable shelves, consider the weight of the items you'll be displaying, the frequency with which you'll be adjusting the shelves, and your budget. And don't forget to think about the overall aesthetic of your display cabinet. You want to choose a system that not only functions well but also looks good.
Step-by-Step Guide to Installing Adjustable Shelves
Okay, you've picked your shelves and you're ready to get started. Don't worry, installing adjustable shelves is usually a pretty straightforward process, even if you're not a DIY expert. Just follow these simple steps, and you'll have your display cabinet looking shipshape in no time.
First, gather your tools and materials. You'll need a drill, a level, a measuring tape, a pencil, and the adjustable shelves themselves, of course. If you're using shelf pins, you'll also need a drill bit that's the same size as the pins. If you're using tracks and brackets, you'll need screws to attach the tracks to the sides of your display cabinet.
Next, mark the locations for the shelves. Use a measuring tape and a pencil to mark the desired height for each shelf. Make sure to use a level to ensure that the shelves are straight. This is especially important if you're installing multiple shelves. Nobody wants a wonky display cabinet, right?
If you're using shelf pins, drill holes at the marked locations. Make sure to drill the holes deep enough to accommodate the pins, but not so deep that they go all the way through the sides of the display cabinet. If you're using tracks and brackets, attach the tracks to the sides of the display cabinet using screws. Make sure to align the tracks properly before tightening the screws.
Finally, install the shelves. If you're using shelf pins, simply insert the pins into the holes and place the shelves on top of the pins. If you're using tracks and brackets, slide the brackets into the tracks and place the shelves on top of the brackets. And that's it! You've successfully installed adjustable shelves in your display cabinet. Now you can start arranging your items and showing off your treasures.
Of course, every display cabinet is different, so you may need to make some adjustments to these instructions based on your specific situation. But with a little bit of patience and a steady hand, you should be able to install adjustable shelves in your display cabinet without too much trouble. And remember, if you're feeling unsure about anything, there's no shame in asking for help from a friend or a professional. Sometimes, it's better to be safe than sorry, especially when it comes to furniture.
Creative Display Ideas with Adjustable Shelves
Now for the fun part! You've got your adjustable shelves installed, and it's time to unleash your inner interior designer. Adjustable shelves aren't just about practicality; they're also about creating a visually appealing and engaging display. Here are a few creative ideas to get you started.
Think about creating different levels of visual interest. Instead of lining up all your items in a straight row, try varying the heights and depths of the objects on each shelf. This will create a more dynamic and visually appealing display. For example, you could place a tall vase on one shelf, a stack of books on another, and a small figurine on a third. By varying the heights and depths of the objects, you'll create a sense of depth and dimension.
Consider using lighting to highlight your favorite items. A well-placed spotlight can draw attention to a particularly beautiful vase or a cherished family heirloom. You can also use LED strip lights to create a soft, ambient glow that will enhance the overall mood of your display. Lighting can make a huge difference in the way your display cabinet looks, so don't be afraid to experiment with different options.
Don't be afraid to mix and match different styles and textures. A display cabinet is a great place to showcase your personality, so don't be afraid to let your creativity shine. You could combine vintage items with modern pieces, or mix and match different colors and patterns. The key is to create a display that reflects your personal taste and tells a story about who you are. Maybe you have a collection of Peranakan tiles picked up from your travels? Showing them off proudly in your display cabinet tells everyone a little something about you, doesn’t it?
Remember, the best display cabinets are the ones that are constantly evolving. Don't be afraid to rearrange your items and experiment with different layouts. The more you play around with your display, the more you'll learn about what works and what doesn't. And who knows, you might even discover a hidden talent for interior design! Ultimately, it’s your space, your style, and your story – so have fun with it!